Welcome to Ningbo Kumsung Machinery Co., Ltd.
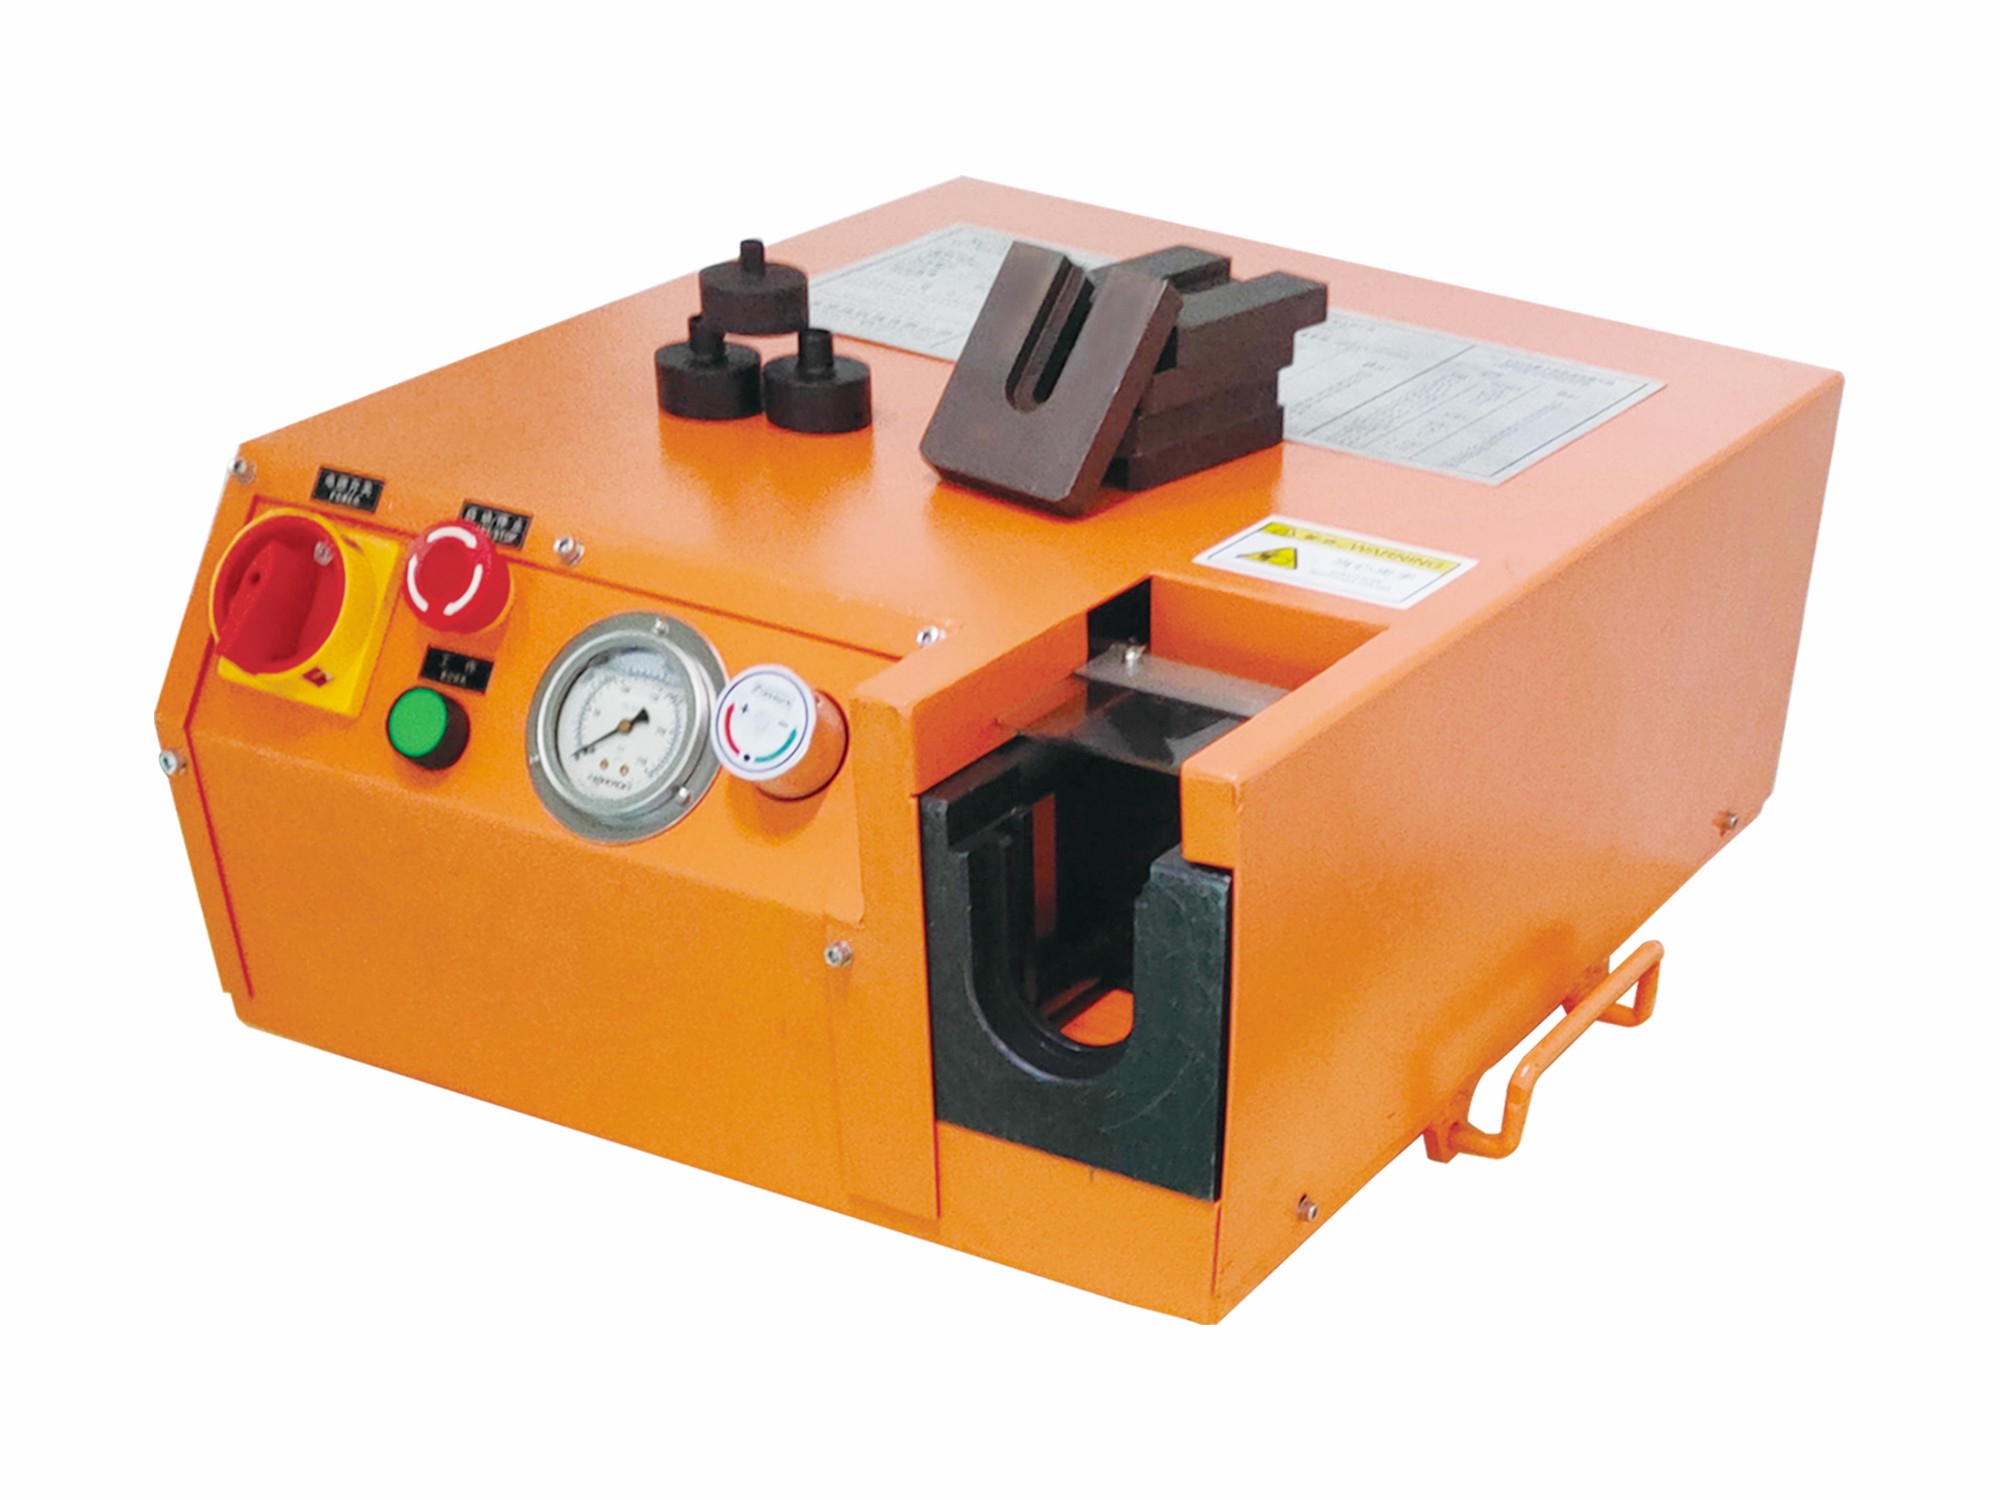
Assembly Schematic Diagram of Electric Ferrule Pre-assembly Machine KC-A01
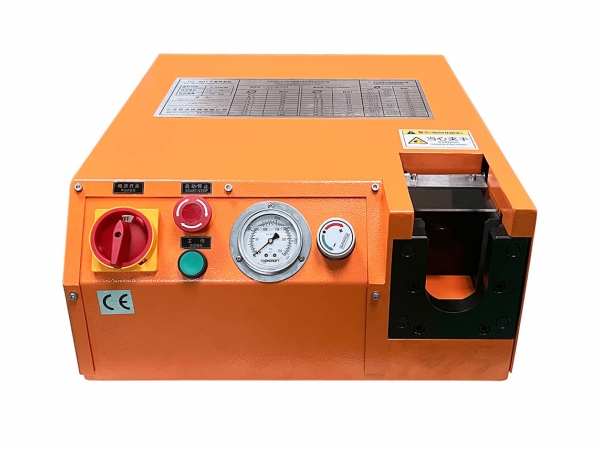
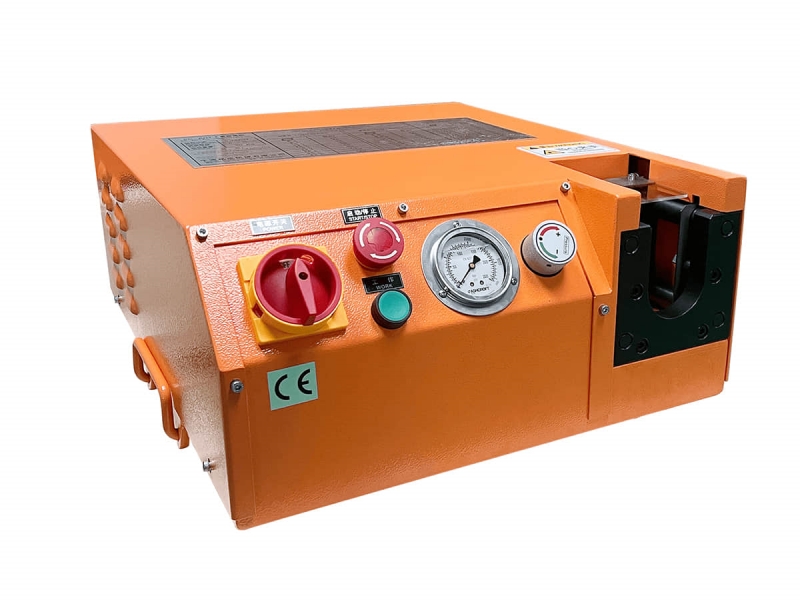
1.Adjust the pre-installation pressure according to the pressure gauge on the machine.(lfthe material of the pipe is relatively soft, thepressure should be appropriately reduced.)

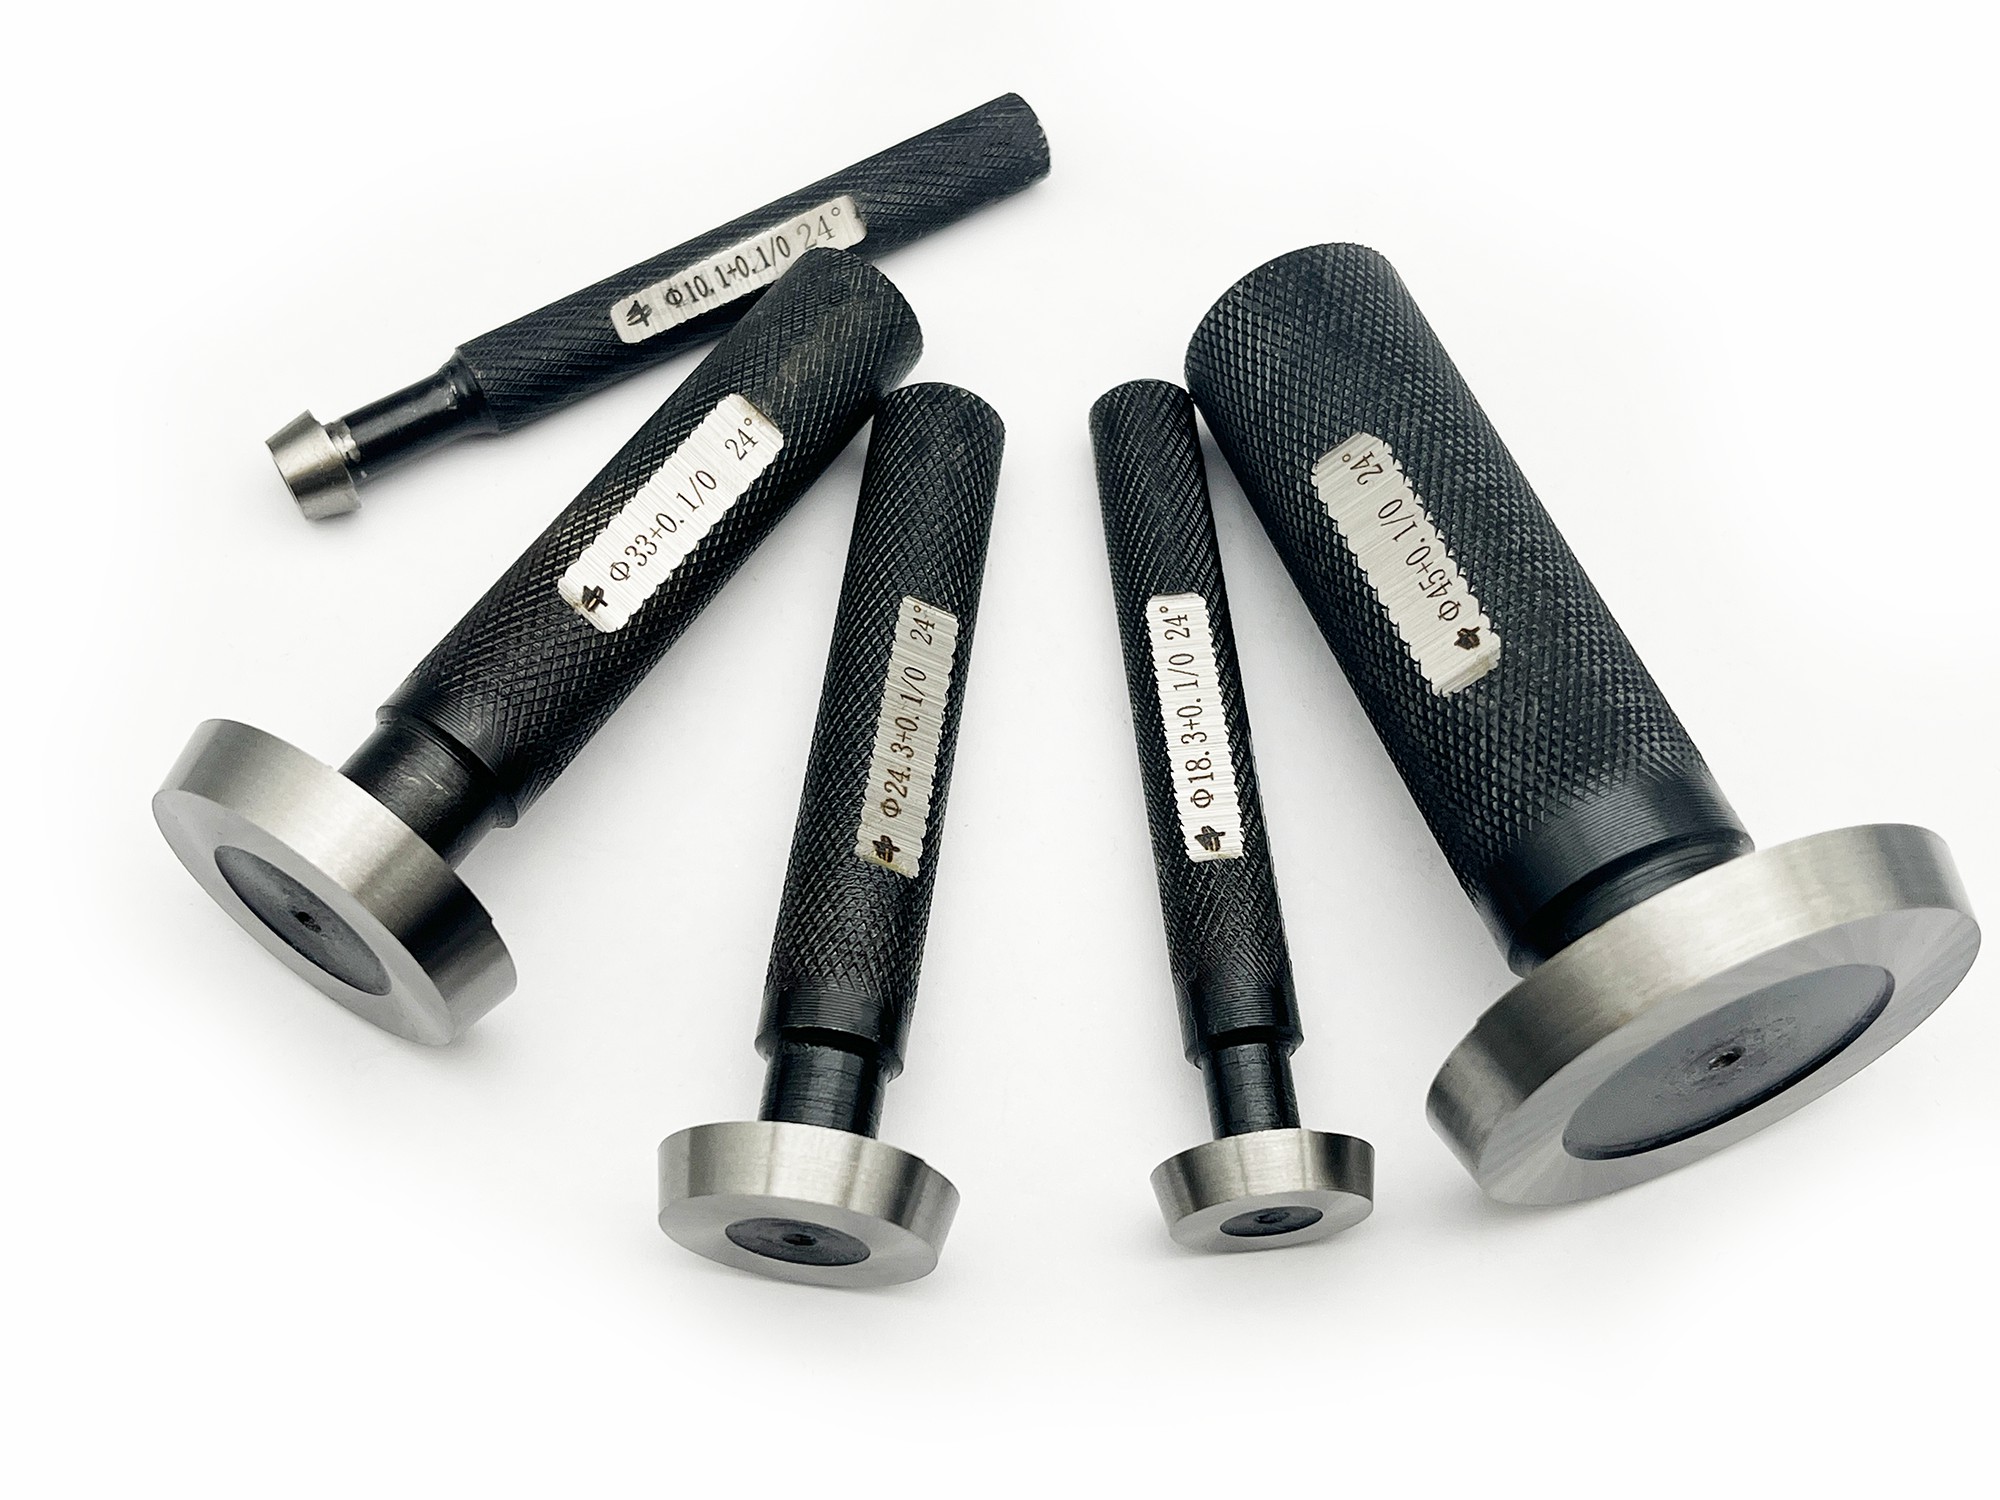
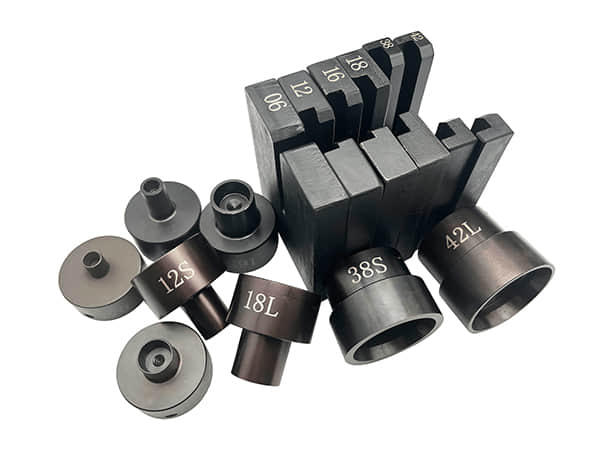
2.Select the mold of the appropriate model(sleeve and baffle), and clean and lubricatethe mold.

3.Install the mold on the machine and insertthe pin to fix the sleeve.

4.Place the nut and ferrule on the steel pipe asshown in the figure.

5.Insert the steel pipe with the nut and ferruleinto the mold, grip it tightly and push it for-ward to the bottom end of the mold.

6.KC-A01: Grasp the steel pipe firmly and pressthe start button.KC-A02: Operate the handle of the manualpump until the pressure reaches the requiredvalue.

7.After the pre-installation is completed, takeout the steel pipe for inspection.

8.When inspecting, pay attention that thereshould be an obvious bulge visible at the firstcutting edge. The ferrule is allowed to rotateon the steel pipe.

9.Without using an extension wrench, tightenthe nut until there is an obvious change intorque. Then mark the position of the nut,and use the wrench to further tighten it by 30°.